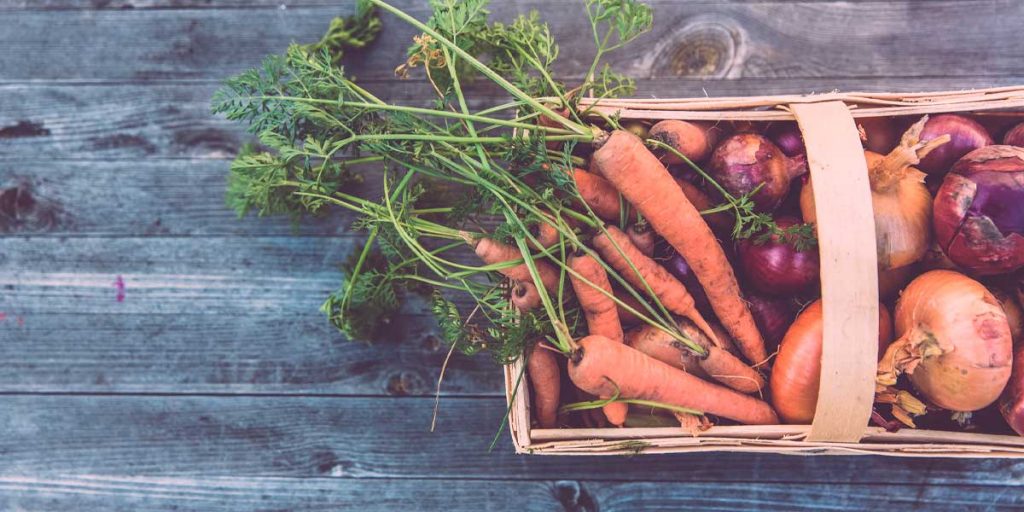
Science has proved the saying – you are what you eat – is more than just a cliché. Add to that the controversy around GMO (genetically-modified organism) crops, and you’ll understand why the health-conscious are shifting towards growing their own produce.
A hobby greenhouse set-up at home can not only help you look after your health but also combat rising food costs with just a little patience – what’s not to like about that?
If you’re looking for a comprehensive greenhouse gardener guide for beginners, then you’ve just hit the jackpot. Stick with us as we walk you through the basics of gardening. From tips for choosing the right seed to items for creating the ideal environment for your vegetables, trees, and plants – we’ve got it all. Consider this guide your go-to information space for all things green!

Greenhouse 101
We’d like to start our rights reserved gardening guide by discussing the types of greenhouses available for budding gardeners. If you’ve already got a head start and have a greenhouse set-up in place, you may want to skip to the next heading.
What Is A Greenhouse And Why You Should Think About Investing In One?
The term ‘greenhouse’ may sound all intimidating. The truth is, a greenhouse is a structure (with metal, wood, or PVC pipe construction) that includes panels made from either plastic, glass, shade cloth, or any other material that has light filtration and air circulation.
Suppose you’re a gardener who’s starting from scratch. In that case, you have the option of building a greenhouse to your specifications by getting all the necessary materials from your local hardware store or by getting yourself greenhouse kits.
People prefer to invest in building a greenhouse instead of year-round gardening in an exposed space because greenhouse growing can help protect your crops (or plants) from the elements and related seasonal issues.
Besides, not all crops are made equal, and while some plants can grow in extreme conditions, certain produce needs careful cultivation right from the germination process.
Aside from all that, a greenhouse can drastically reduce the amount of effort you need to put into your gardening venture. For example, you don’t have to worry about too much rain or sunshine or extreme weather events.
There’s also the advantage of some of your plants growing waist-high instead of ground-level. That means you won’t be breaking your back spending hours bent over your crops.
Types Of Greenhouses
Generally, hobby greenhouses fall into either of the two categories:
- Freestanding
- Attached
As the names suggest, freestanding greenhouses are independent structures, and attached greenhouses are typically connected to another building (for example, your house). Both types of greenhouses are available in a variety of styles and shapes. Here are a few of the more popular ones:
- Lean-to Greenhouse:
This type of greenhouse is set up on a south-facing wall of the building, and the greenhouse is attached to the roof’s ridge. It’s a good option for folks who live in cold climates and require a cost-effective arrangement for heating the greenhouse.
Another advantage of a lean-to greenhouse is electricity and water connections are easier to manage because the greenhouse is attached to the building.
- Hoop-house Greenhouse:
A hoop-house greenhouse is characterized by its curved or round roof. The hoops are made of PVC and aluminum pipes, and the ‘walls’ are constructed from polyethylene (plastic) film for better insulation.
A hoop-house greenhouse is possibly the least costly freestanding greenhouse to construct and is ideal for low-growing produce like lettuce or strawberries (yum!).
- Post and Rafter Greenhouse:
A post-and-rafter greenhouse is super-popular with most gardeners because it’s pretty simple structure-wise and has incredibly sturdy walls.
Plus, the post-and-rafter greenhouse allows you to use heat and space efficiently, making it perfect for use in winters. However, if you’re interested in this conservatory type, you will have to build yourself a sturdy concrete slab foundation.
Other Essentials
Gardening may seem overwhelming for newbies. There are so many moving parts to keep track of – light, air, temperature, etc. But, there’s no need for you to get anxious. That’s because we’re going to tackle all the gardening essentials one-by-one to help you get started on your greenhouse adventure and learning process.
1. Choosing The Plant
First things first – what plant should you start growing first in your very own greenhouse. For beginners, the trick is to pick a plant that’s easy to grow and doesn’t require too much careful handling. Here are some plants that are easy to handle for first-time gardeners:
Garlic
Garlic is nothing short of a superfood and is a staple in almost every household. It’s also easy to grow in a greenhouse, and you can produce at least ten crops from just one bulb of garlic!
Radish
Radish is a root vegetable and includes nutrients like potassium, magnesium, fiber, calcium, etc. It’s easy to plant and care for. But, the best part is radishes grow at an astonishing speed and can be ready for consumption in a matter of days.
Potatoes
Potatoes are sensitive to frost and need the right temperature to thrive, making them ideal for a greenhouse harvest. They’re also a staple and don’t need too much attention once planted.
Strawberries
Who doesn’t love strawberries? Strawberries are a seasonal fruit, but thanks to your greenhouse, you can grow strawberries for your family year-round. Not only are they full of essential nutrients, but they’re also pretty versatile when it comes to planting methods.
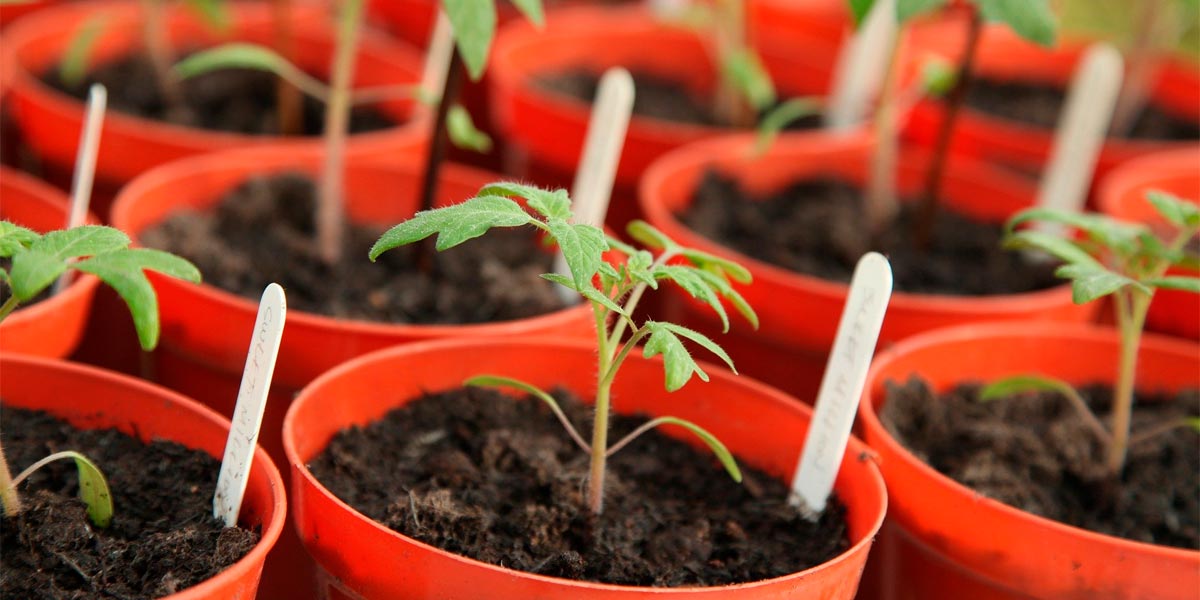
2. Starting Seeds Selection
Once you’ve made up your mind about the plants you want to grow in your greenhouse, the next step of the process requires you to know your seeds. Believe it or not, several types of starting seeds are available on the market, with different labels and specifications.
Organic
If you’re looking to grow organic produce, then choosing these seeds is a good idea. They’re USDA organic certified and are generally from a specific territory or region.
Non-GMO
Non-GMO seeds are cultivated via open-pollination. It’s a good idea to look for non-GMO seeds from companies that have signed the Safe Seed Pledge.
Open-pollinated
Open-pollinated seeds are the kind of seeds that produce true-to-type plants. That simply means that this type of seed will result in a plant that’s remarkably similar to its parent. One of the biggest advantages of open-pollinated seeds is that they allow you to produce your own seed supply.
GMO
Biological engineers create GMO seeds via genetic engineering to retain specific characteristics, such as resistance to herbicides.
Dormant seed
Dormant seeds require weathering (also known as pre-treatment) before they’re ready to be planted. Planting a dormant seed without the necessary pre-treatment will mean the seed will not sprout.
Hard seed
Hard seeds (a type of dormant seed) have a seed coat that’s impervious to water. Generally, this type of seed needs to be soaked in water for a required amount of time before they’re ready for planting.
3. Watering
Water is referred to as the source of all life for a good reason. Your plants need the right amount of water to grow. That’s why figuring out the appropriate watering system based on the plants you intend to grow, and your overall environment is crucial.
Initial gardening steps involve learning the basics of water requirements for each plant you’re interested in growing. That means creating a set timetable for when’s the best time to water your plants and ensuring you never overwater or underwater your crops. Before you get too stressed, there are plenty of gardening books available with this type of information.
Details like sun intensity, air filtration, day length, greenhouse temperature, and plant development stage all play a role in deciding what’s the best time to water your plant.
For instance, watering your plants in summer will likely be quite different from hydrating during winters.
You can water your plants at almost any time of the day during summers because water tends to dry out quickly. It’s recommended to water your crops early morning or evening in the summertime because it gives the roots a chance to absorb moisture before the heat sets in and starts the evaporation process. During the winter months, watering should only be done during the day and when the growing medium is dried out.
Inappropriate watering routines can result in problems like immature plants, decreased shoot/root growth, irregular drying, etc. Not to mention, an unsuitable watering system can also increase your reliance on pesticides and other forms of growth control to ensure the life of your plants.
Overwatering a plant generally occurs when you’re watering your plants too often without allowing the potting soil to drain out. Conversely, underwatering can result either when you’re giving your plants too little water or when your watering schedule is too infrequent, leading to a dried-out growing medium.
You can avoid these roadblocks by investing in a drip system that’ll help you regulate your water schedule and allow you to utilize streams of water that lead straight to the soil – be it in pots or a bed garden.
Once you’ve checked the water requirements for the plants you’re growing, you can set the timer and drip gauge of your drip system accordingly.
A sure-shot sign of your plant being under-watered is when the compost appears dry and dusty instead of moist. Also, remember that watering is meant for the roots of a plant – not its leaves. Sprinkling the leaves with water is not only incorrect, but it may also lead to your plant developing disease problems.
4. Lighting
Plants use light for photosynthesis – their necessary metabolism process. A vital part of creating the right atmosphere in your greenhouse involves making sure your plants get the appropriate amount of light they need to grow and thrive.
But here’s where things can get a little tricky. Keep in mind that plants will react to different types of light in various ways. Before you go about picking the right lighting system for your set-up, you should consider the following details:
- The natural hours of daylight available
- The type of plants you’re growing
- The current climate and season
A plant’s need for the intensity and amount of light will change during its development. For instance, a plant’s need for light will increase as it matures and sprouts leaves.
If you’re familiar with the light spectrum, you’ll know that blue and red-colored lights are what makeup sun-shine (or white light). And that they are also the most widely used for photosynthesis by plants.
You must understand the color blends of any light you purchase to ensure that your plants’ energy needs are met.
Additionally, you should also pay attention to the number of daylight hours at your disposal according to the growing season. For example, your greenhouse should do well most of the time during spring and summer concerning proper lighting.
However, if you’re planning on growing or planting during the fall or winter, you’re going to need a back-up source of lighting. That’s where fluorescent lamp strips and LEDs can help you big time. These lights are well-equipped to promote photosynthesis and germination.
What’s more, they’re capable of illuminating a sizable surface area and include the full spectrum of light that your plants need to survive.
If you live in a territory that doesn’t receive enough natural light during the day or has harsh winters, then grow lights are your best bet.
Grow lights are specifically designed to support the process of photosynthesis, and they’re also effortless to use. Most grow lights are of the plug-and-play variety, so that all you need to do is plug the light into an electrical outlet.
However, grow lights emit an intense light and may be harmful to your eyes over an extended period. That’s why always remember to be careful while using growth lights and protect your eyes accordingly.
5. Temperature
Temperature control is another all-important aspect of greenhouse gardening. Sure, greenhouses are naturally adept at trapping heat, but that’s just one part of the bigger picture.
It’s beyond smart to equip your greenhouse with a gas or electric heater before winter sets in – if you’re planning on growing plants during the cold season. Likewise, an evaporative cooling system is ideal for folks fighting extreme temperatures during the hot summer months.
A heating system that includes automated timers can help keep your greenhouse’s temperature stable if it drops below a certain point. These heaters can also come in handy when it comes to propagating seeds in winter. However, if you want to cut down on energy bills, you can opt for seed propagating mats instead.
You can also rely on active ventilation systems to keep your any-size greenhouse cool with the help of fans. Ventilation fans help draw in cool air through air circulation pipes and expel warm air to keep temperatures inside the greenhouse ideal.
Additionally, ventilation via fans also helps keep the moisture level in your greenhouse in check. Leaves tend to release moisture from their pores through transpiration, which means moisture levels within a greenhouse need to be monitored too.
Greenhouse Ventilation systems can also help reduce the excess water building up inside the greenhouse while ensuring the temperatures stay stable during the growing season.
As stated earlier, greenhouses are adept at trapping heat, and without a proper cooling system, the temperature inside your greenhouse can sky-rocket. That’s something you want to avoid at all costs because heat-stress can end up reducing your plant’s productivity and yield levels.
You’re going to have to get acquainted with your plant’s needs before you go about selecting the appropriate temperature control system for summers and winters.
Plants have diverse temperature needs; however, most plants do well with regular temperature changes. Generally, foliage and flowering do well between 70 to 80°F (during the day). On the other hand, the ideal temperature for growing vegetables clocks in at 65 to 75°F.
6. Pest Control
Be it a greenhouse or an outdoor garden – plants are vulnerable to pests. However, a greenhouse setting is more favorable for certain pests because of its controlled and humid environment.
Pests are a trial and one of the top causes of damage to crops. To safeguard your crops, you’ll not only need to keep a vigilant eye out for the immediate discovery of infestation, but it’s also best to familiarize yourself with the kind of pests you may encounter. Doing so will not only help keep your plants from harm, but it’ll also make sure you save oodles of money in the long run.
We’ve compiled a list of some of the most popular pest types gardeners encounter, and there’s a compilation of organic pest control methods to ensure the quality of your crops is maintained. Ready? Here we go…
Pest Types:
- Aphids
Aphids are tiny little bugs that survive by sucking the sap from your plants. These little critters have soft, pear-shaped bodies, antennae, and may or may not have wings.
Aphids are generally soft green, but they can also be yellow, orange, black, gray, or white. They love hiding at the bottom of leaves. Careful pruning and hygiene will go a long way in keeping aphids away.
- Bloodworms
Bloodworms are the larval stage of a midge fly. These worms appear bright red in color because of hemoglobin (you read that right) and have a brown head.
Bloodworms are quite common in stagnant water and are known to chew on plant matter to survive. They’re typically found in plant roots growing through float trays. You can stop a bloodworm infestation from occurring by controlling the amount of exposed water on the float bed surface.
- Slugs
Believe it or not, slugs can become a severe problem for greenhouse gardeners. These slimy-looking pests like to hide in dark and moist spaces during the day and come out to feast at night.
And, slugs aren’t picky about what they eat either. They’ll eat roots, stems, leaves, flowers, etc. You can tell you’re dealing with a slug problem by looking out for slime trails.
Hygiene plays a big role in slug control. Keeping your hobby greenhouse clear of waste like dried leaves, weeds, plant debris, bricks, etc., in moist spaces will help keep these bugs away.
- Thrips
Thrips are tiny little insects that are generally brown or black in appearance, and they have four fringed wings that lay flat in their back. They survive scratching the plant’s surface and sucking on the sap.
You can prevent a thrip infestation by utilizing a screen on ventilators, controlling the weed population in your greenhouse, and ensuring all the materials that enter the structure via the greenhouse door are clean and pest-free.
Organic Pest Control Techniques
- Attract Ladybugs
As beautiful as bright red ladybugs are, their aesthetic value is nothing compared to crop health benefits. Ladybugs and their larvae love feeding on aphids and other soft-bodied pests. And the best part is that ladybugs don’t harm your plants in any way.
You can attract these beautiful insects to your greenhouse by planting a few flowering plants, such as calendula, marigold, alyssums, etc. Flowering herbs like fennel, dill, parsley, and thyme also attract these pest predators.
- Neem Oil
Another viable method of organic pest control is using neem oil to keep pests at bay. Neem oil is extracted from the Neem tree (native to Asia) and is perfect for inhibiting pest cycles.
One of the active ingredients of neem oil is azadirachtin, which causes insects to eat less and grow slowly so that a pest infestation becomes easier to control. Neem oil is a good option for gardeners looking to pre-empt major pest infestations.
Neem oil works best on insects like Mexican bean beetles, aphids, leaf-eating caterpillars, and squash bugs. Additionally, neem oil is pretty good when it comes to warding off mildew too.
- Diatomaceous Earth
Diatomaceous earth (DE) is derived from sedimentary rock created by diatoms (fossilized algae). Apart from having several health benefits, food-grade diatomaceous earth is also a very useful insecticide.
It works by dehydrating pests to death and doesn’t involve any harmful side-effects. What’s more, diatomaceous earth is readily available at most garden stores and doesn’t require any preps before use. All you need to do is get your hands on some food-grade DE, dust it around the ground, around the foliage inside your greenhouse, and you’ll be good to go.
Conclusion
There you have it, folks. Our detailed greenhouse kick-starter guide has reached its conclusion, and we can only hope we’ve satisfied all your queries.
In summary, investing in a greenhouse is a smart decision, both health and finance-wise. Raising your own plants gives you control over the growing process, and that means you’re 100% aware of what goes in your body. You don’t have to worry about chemicals, pesticides, GMO-related controversies, etc.
Plus, gardening in a hobby greenhouse offers your certain luxuries that outdoor gardens lack. For instance, you don’t have to worry about protecting plants from direct sunlight or rain. And that’s why we hope you’re going to go ahead with your greenhouse project this gardening season and enjoy the related benefits.
Till next time, happy horticulture!